FortiGate Managed Access Point Tunnel Mode v5.4
This example will use a FortiGate firewall to manage FortiAP access points. We’ll create what’s called a tunnel-mode wireless network, which means the wireless clients will be on a different network then the wired clients. The FortiGate firewall will also provide DHCP services to both wired and wireless clients.
Creating the wireless network
Pick an interface that will have the AP connected to it, this can be on the local FortiGate or a local FortiGate port that’s connected to a switch. For this example we’ll use port 3.
- Navigate to Network > Interfaces and edit the LAN interface
- Click the red X next to Port 3 to remove it from the local switch and click OK
- Navigate to Network > Interfaces and edit Port 3
- Set the Role to LAN
- Set Addressing Mode to Manual and set an IP address and network mask for the interface for the new wireless network
- Enable CAPWAP
- Enable the DHCP Server and create a scope, this is for managing your access points.
- Click OK
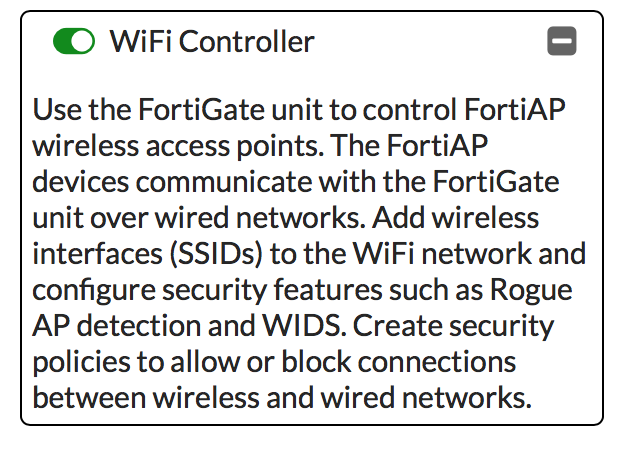
- Make sure the Wireless Controller feature is enabled on the FortiGate. Navigate to System > Feature Select and make sure WiFi Controller is enabled
- Connect a FortiAP to the interface and get it powered up (via PoE or an injector). It might take a few minutes for it to power up and find the FortiGate.
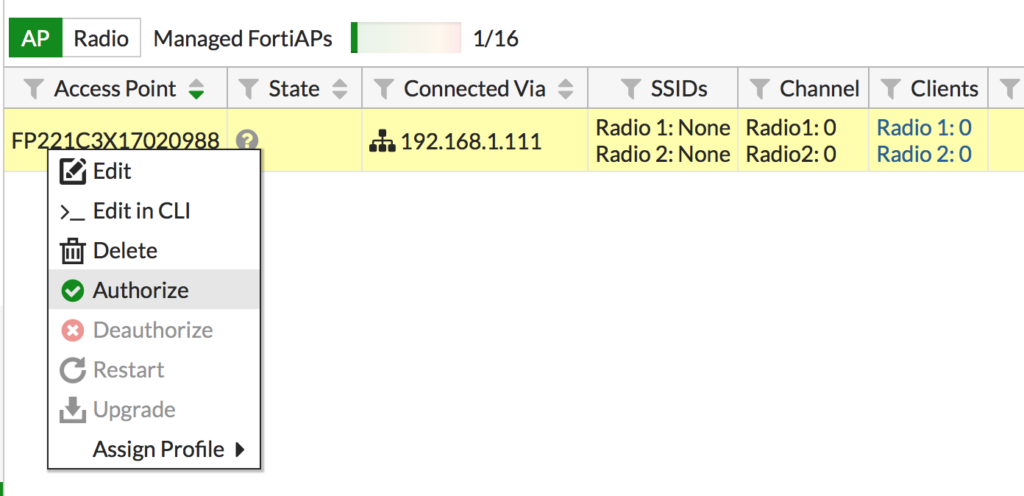
- Navigate to WiFi & Switch Controller > Managed FortiAPs
- Right click on your access point and choose Authorize
Create the SSID
- Navigate to WiFi & Switch Controller > SSID
- Click Create New > SSID
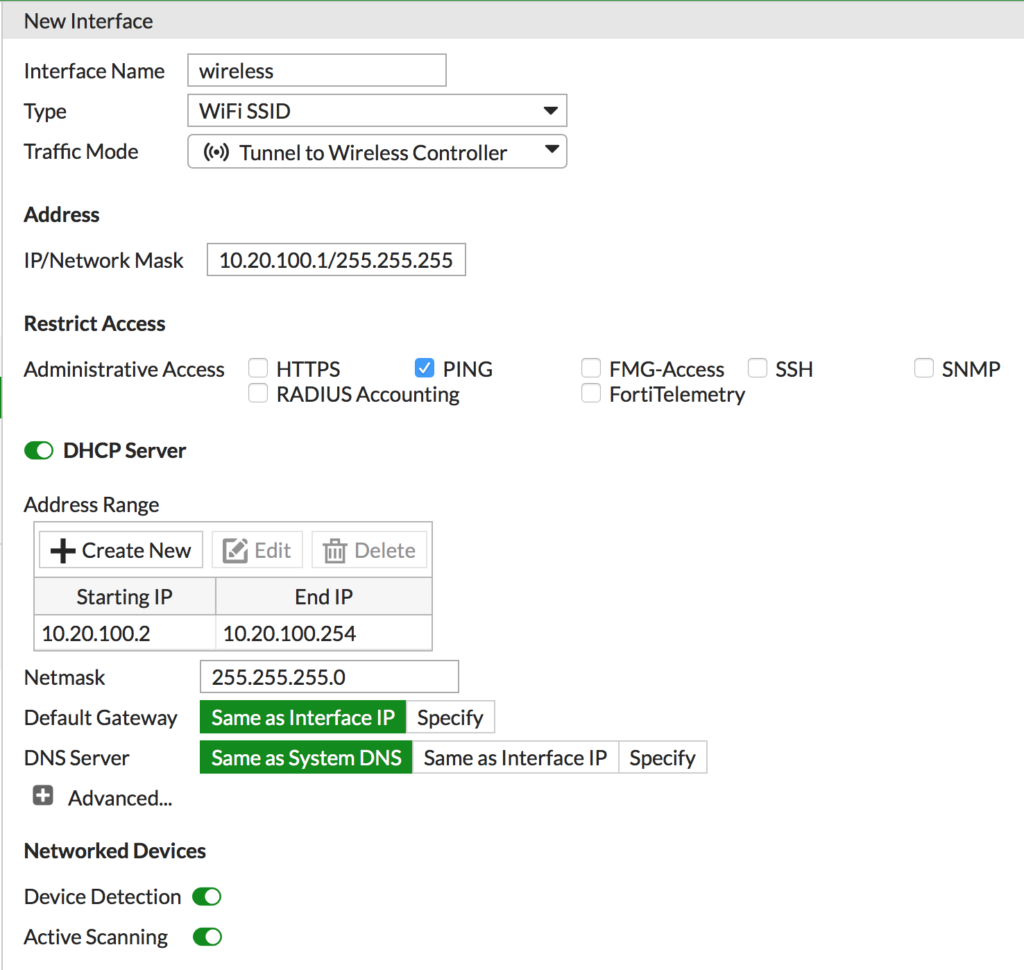
- Setup the new tunnel mode SSID
- Interface Name: Name the new wireless interface
- Traffic Mode: Tunnel to Wireless Controller
- Enable the DHCP Server and give it an appropriate range for your wireless network
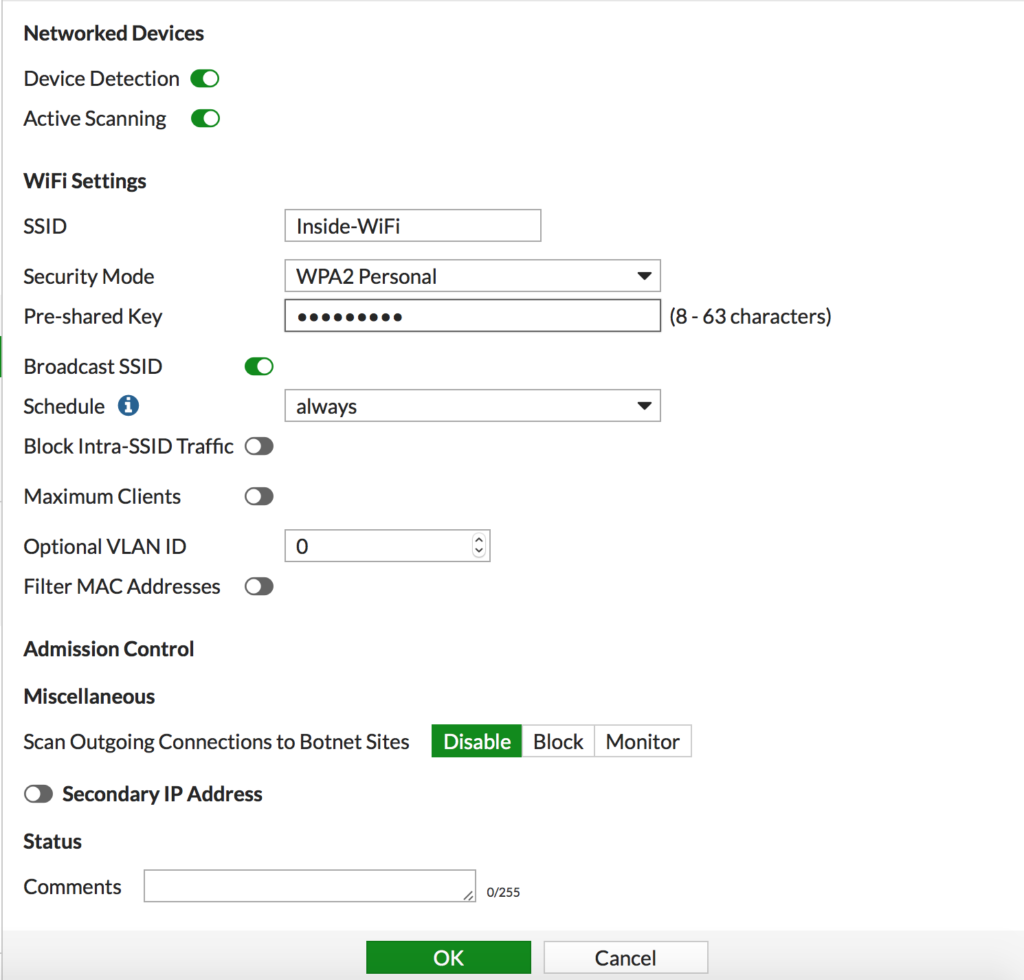
- SSID: What you want the SSID to be broadcast as
- Security Mode/Password: Set as appropriate
- Leave Device Detection and Active Scanning enabled
- Click OK
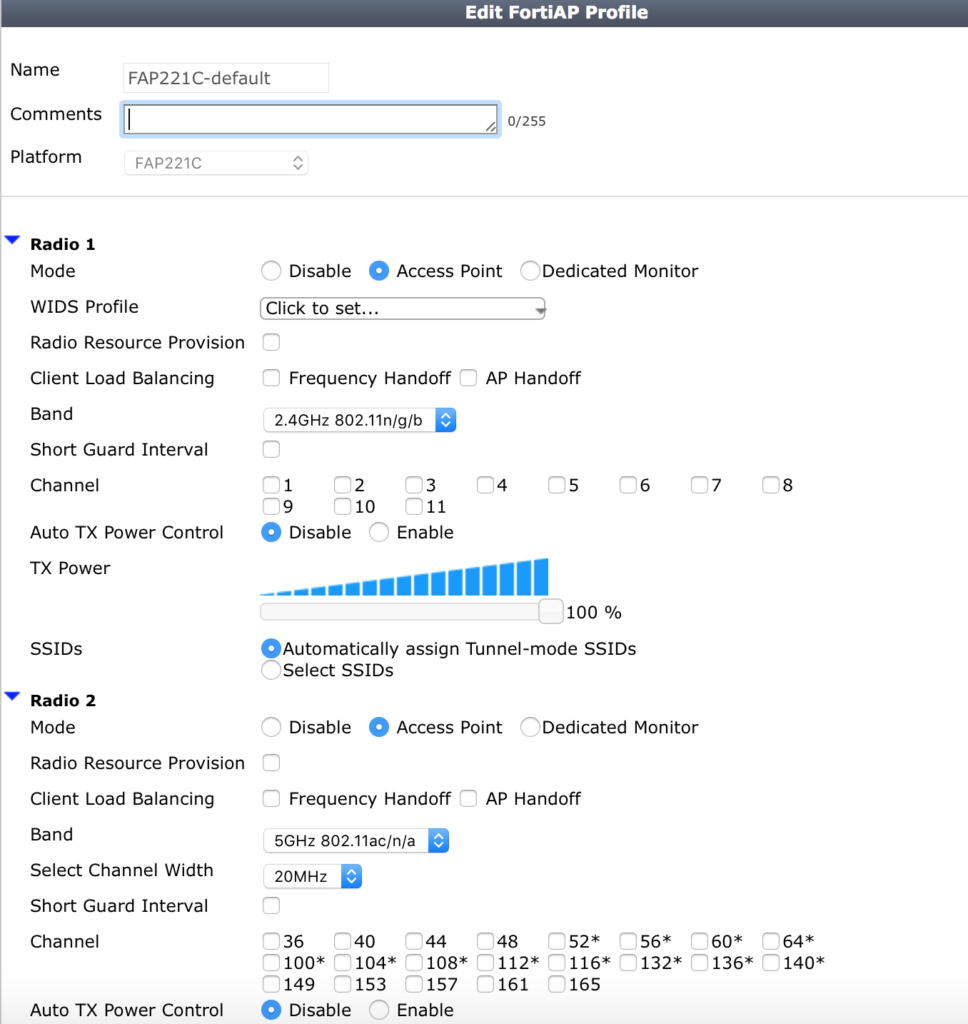
Create the AP Profiles
- Navigate to WiFi & Switch Controller > FortiAP Profiles
- Edit the default or create a new one
- You can leave this if this is going to be your only wireless network, and just change the radio settings to fit your environment. If you will have more then one wireless network, change SSID’s to set your specific SSID and click OK
- Navigate to WiFi & Switch Controller > Managed FortiAP’s and edit your Access Point
- Set the FortiAP Profile to match what you setup above and click OK

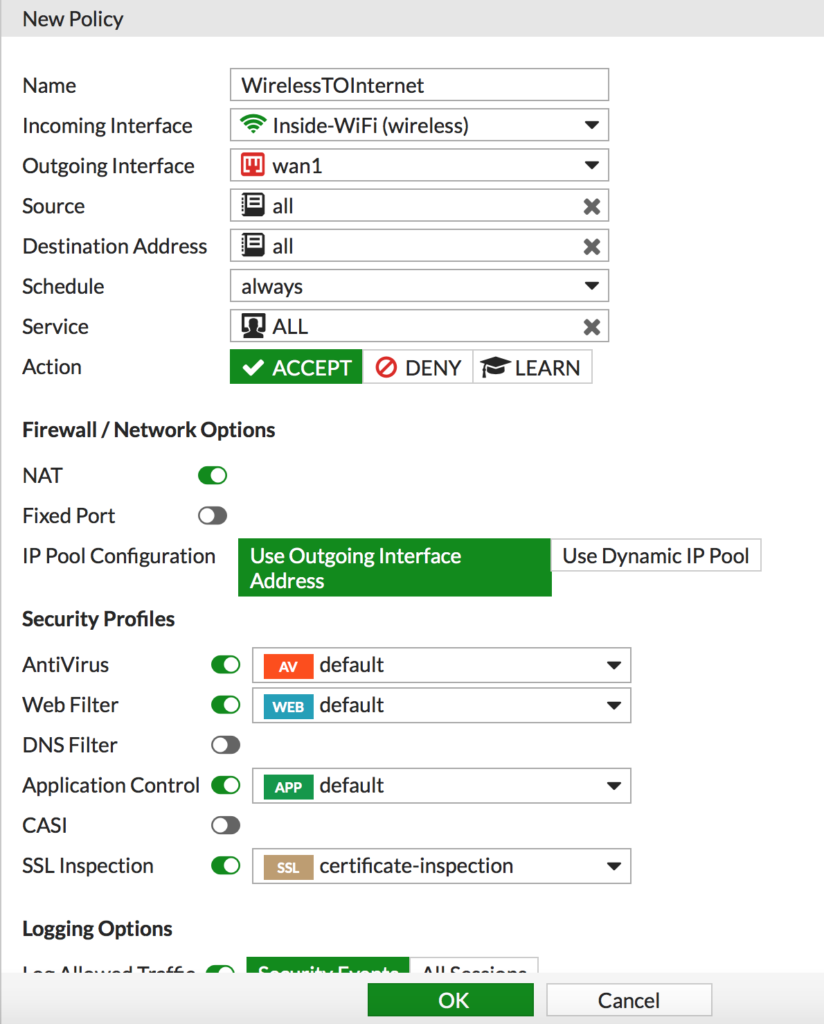
Allow wireless access to the Internet
- Navigate to Policy & Objects > IPv4 Policy and create a new policy
- Name: Give it a descriptive name
- Incoming Interface: Pick your wireless interface
- Outgoing Interface: Pick your WAN interface
- Source: All
- Destination: All
- Schedule: always
- Service: All
- Action: Accept
- Enable NAT
- Enable any security services you want applied here
- Click OK
Allow wireless access to the LAN network
You’ll need another policy to allow your new wireless network access to your LAN network (or any other networks if required).
- Navigate to Policy & Objects > IPv4 Policy and create a new policy
- Name: Give it a descriptive name
- Incoming Interface: Pick your wireless interface
- Outgoing Interface: Pick your LAN interface
- Source: All
- Destination: All
- Schedule: always
- Service: All
- Action: Accept
- Enable NAT
- Enable any security services you want applied here
- Click OK

You’ll need another policy to allow your LAN network access to your new wireless network (or any other networks if required). It’s the inverse of the policy above.
- Navigate to Policy & Objects > IPv4 Policy and create a new policy
- Name: Give it a descriptive name
- Incoming Interface: Pick your LAN interface
- Outgoing Interface: Pick your Wireless interface
- Source: All
- Destination: All
- Schedule: always
- Service: All
- Action: Accept
- Enable NAT
- Enable any security services you want applied here
- Click OK
![]()
That should be it! Repeat for other tunnel mode wireless networks you want to add.