Cisco FirePOWER Management Center AD Integration v6
You have FirePOWER Management Center all fired up and configured and you are getting lots of information but rather then seeing what user is doing what, you are just getting source computer IP addresses. You can tie FirePOWER into Active Directory to report on actual users as well as being able to create policies based on AD users. This lets you get much more granular with your approach.
There are two ways to accomplish this, active authentication and passive authentication. This post will deal with passive authentication through the FirePOWER user agent. The user agent is a piece of software that you install on a member server. It polls the security event logs, watching for log on and log off events. When it sees these it picks up the IP address of the event (being the computer the user logged on or off of) and the corresponding Active Directory user. It then relays this information back to your FirePOWER Management Center.
This post assumes you have your FirePOWER Management Center (v6) all up and running and fully functional.
First you need to create a domain user with a complex password that doesn’t expire. This can be a regular domain user, no special permissions required. Please, do yourself a favor and don’t cheat and just use the administrator account here.
Next you have to find the software on Cisco’s web site. This is no small feat since it’s not where you would expect it to logically show up. Browse to Products > Security > Firewalls > FirePOWER Virtual Appliance > Firesight system tools & API’s
Once you have the software downloaded, let’s prepare the FMC. Navigate to System > Integration > Identity Sources > User Agent and click New Agent
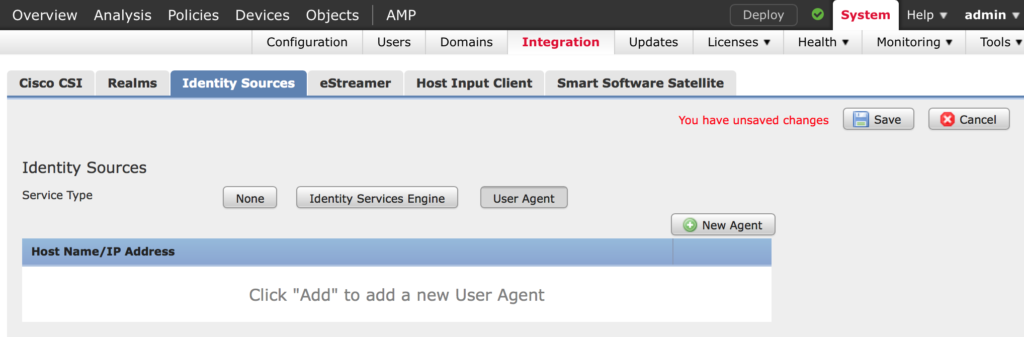
Enter the IP address of the server that will have the FirePOWER User Agent installed on it and click Add then click Save
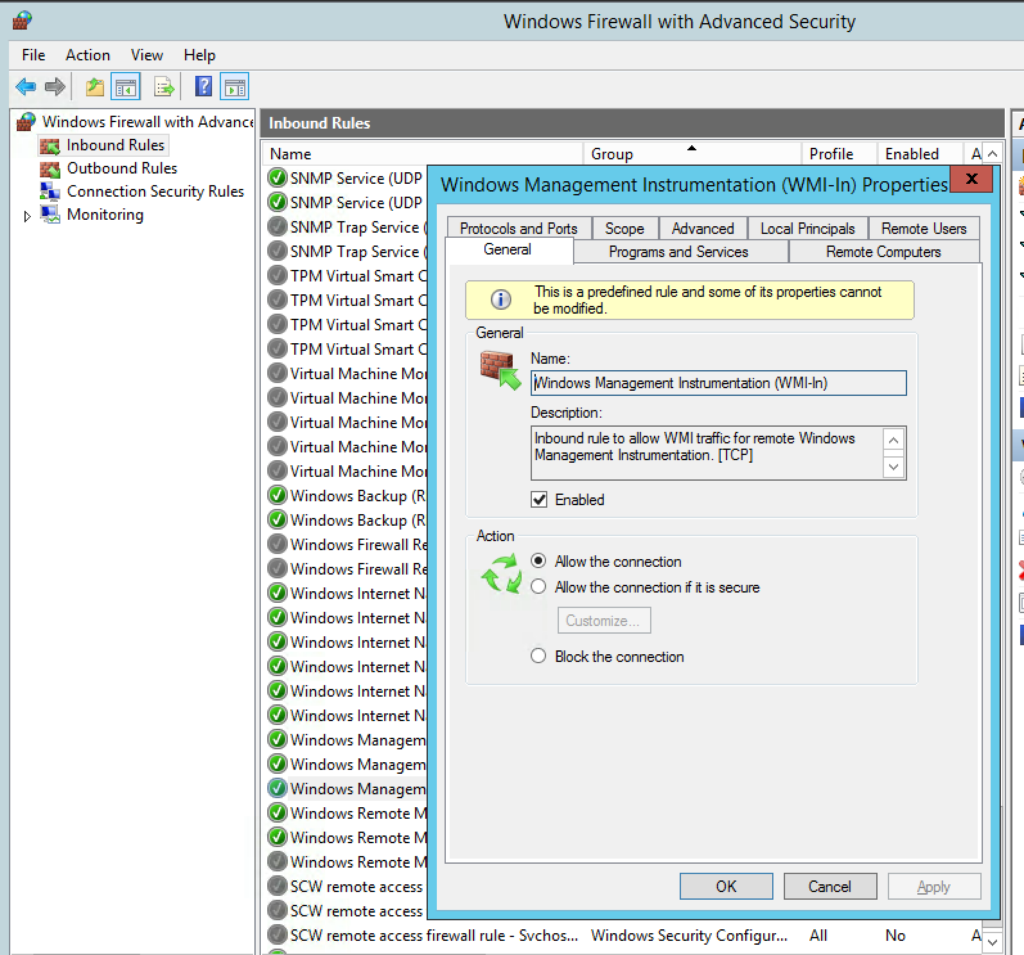
On the Domain Controllers that the agent will read from, make sure WMI-In is opened on the firewall.
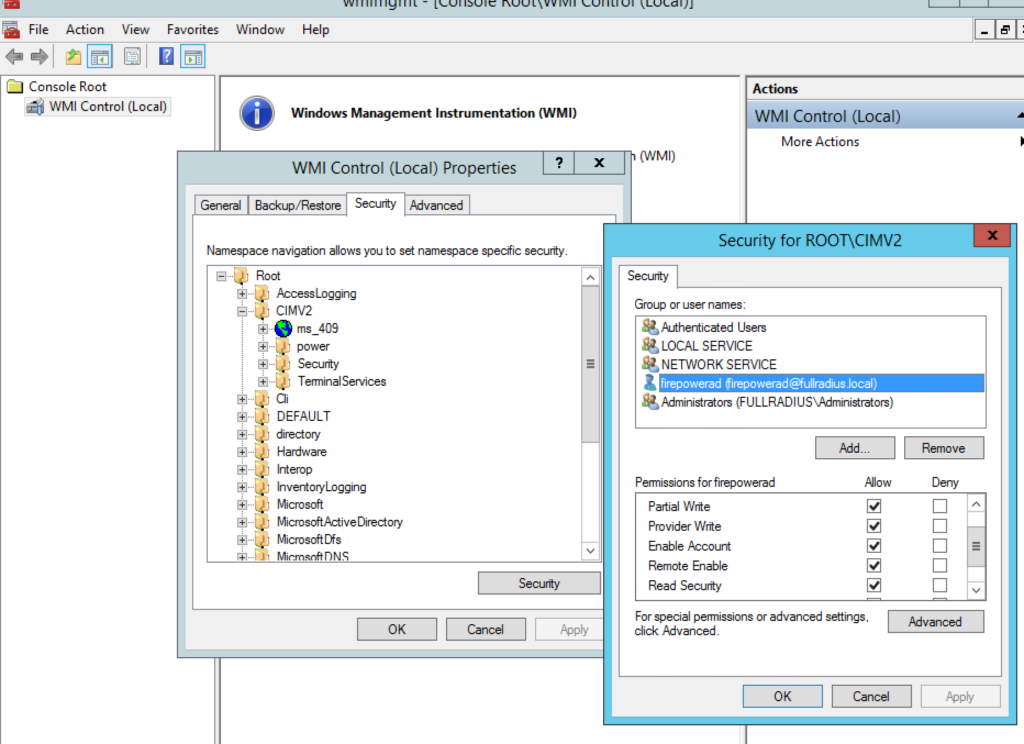
Next make sure the agent user you setup can access WMI. Run wmimgmt.msc. Right click on WMI Control and choose Properties and click on Security.
Browse to CIMv2, click on it and click Security. Add your service account and make sure Remote Enable is enabled.
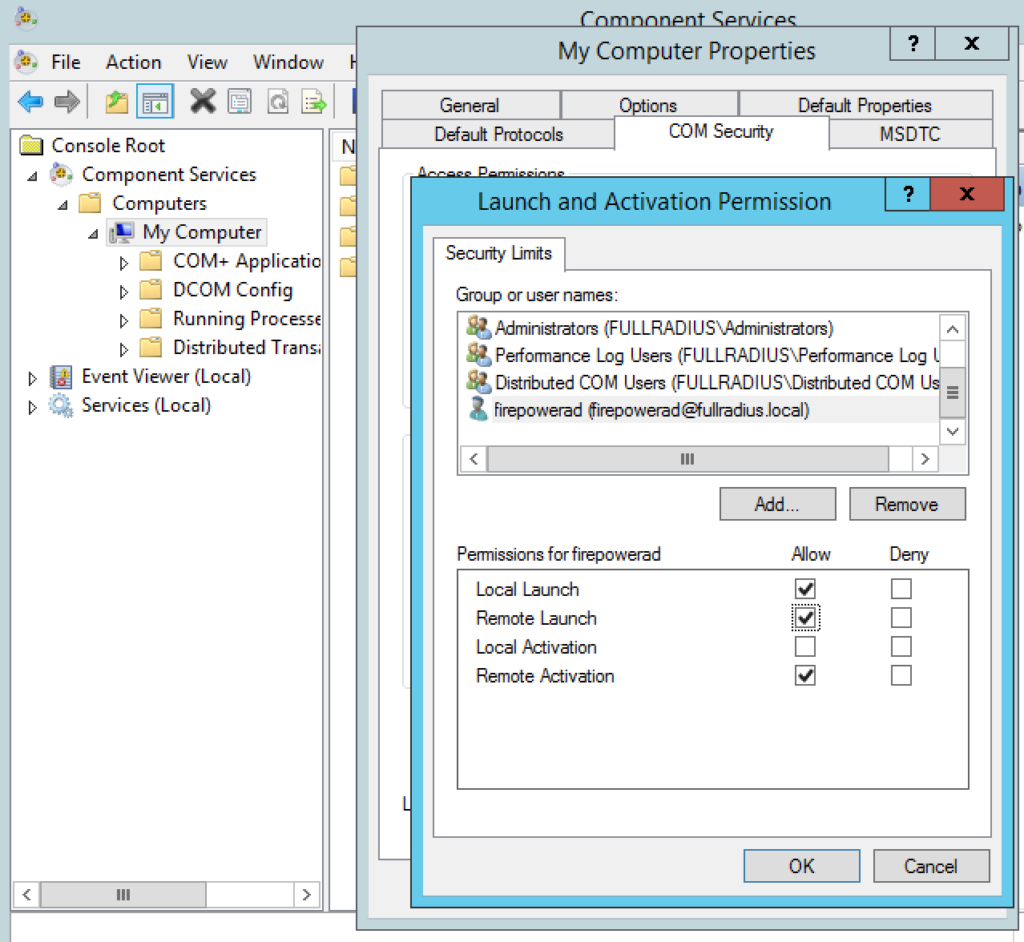
On the Domain Controllers that the agent will read from run comexp.msc. Expand Component Services > Computers. Right click on My Computer and choose Properties.
Goto the COM Security tab, click Edit Limits under Launch and Activation Permissions. Grant your service account Local Launch, Remote Launch and Remote Activation permissions.
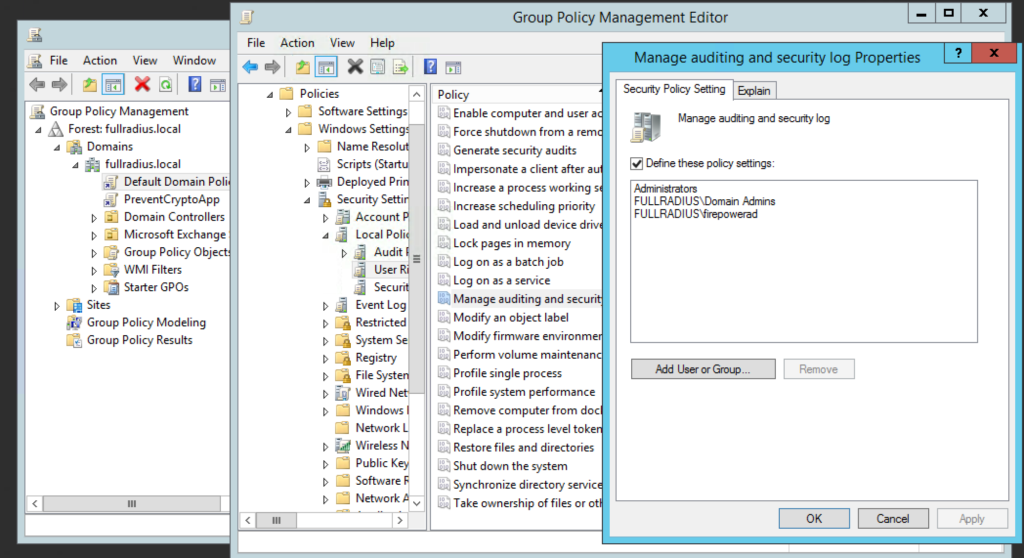
Edit the Default Domain Controllers Group Policy > Computer Configuration > Policies > Windows Settings > Security Settings > Local Policies > User Rights Assignment > Manage Auditing and Security Log. Add your service account user here.
Either wait until the policy applies and propagates, or if you are impatient like me run gpupdate /force to push it immediately.
On the server you are installing the agent, run setup.exe. If you run the MSI only the agent is installed, you will get an error at the end and have to remove it, reboot and start again.
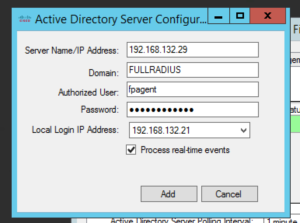
Once it’s installed open the agent and add in your domain controllers
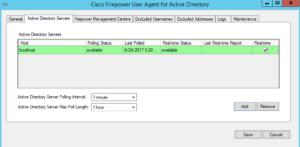
Wait a bit for the service to show green and available.
Click on the Firepower Management Center tab
Add the IP of the Management console
Click Save and walk away for a few minutes, it takes a few minutes for everything to turn green.
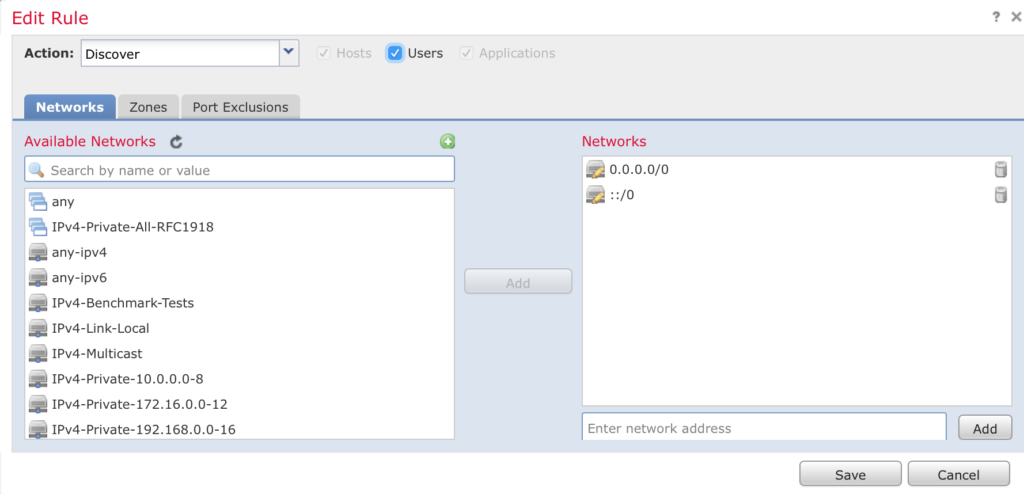
After everything is green and linked head back over to FirePOWER Management Center and navigate to Policies > Network Discovery and edit your policy.
Enable the Users option and click Save and Deploy
Realm & Identity Policy
A realm is one or more LDAP or MS Active Directory servers that share the same set of credentials. You need to configure a realm if you want to perform user and user group queries, user control or an authoritative identity source. Once the realm is setup you can configure the identity policy.
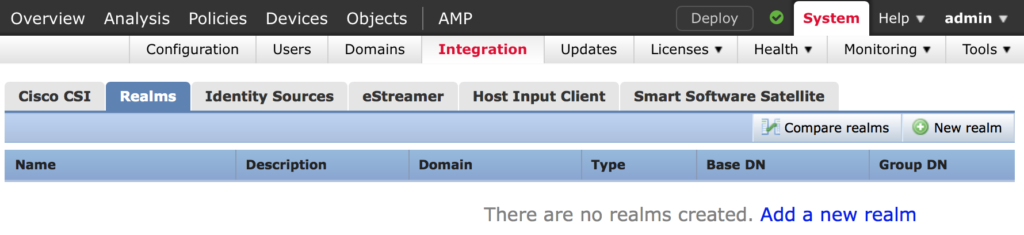
In FirePOWER Management Center navigate to System > Integration > Realms and click on New realm
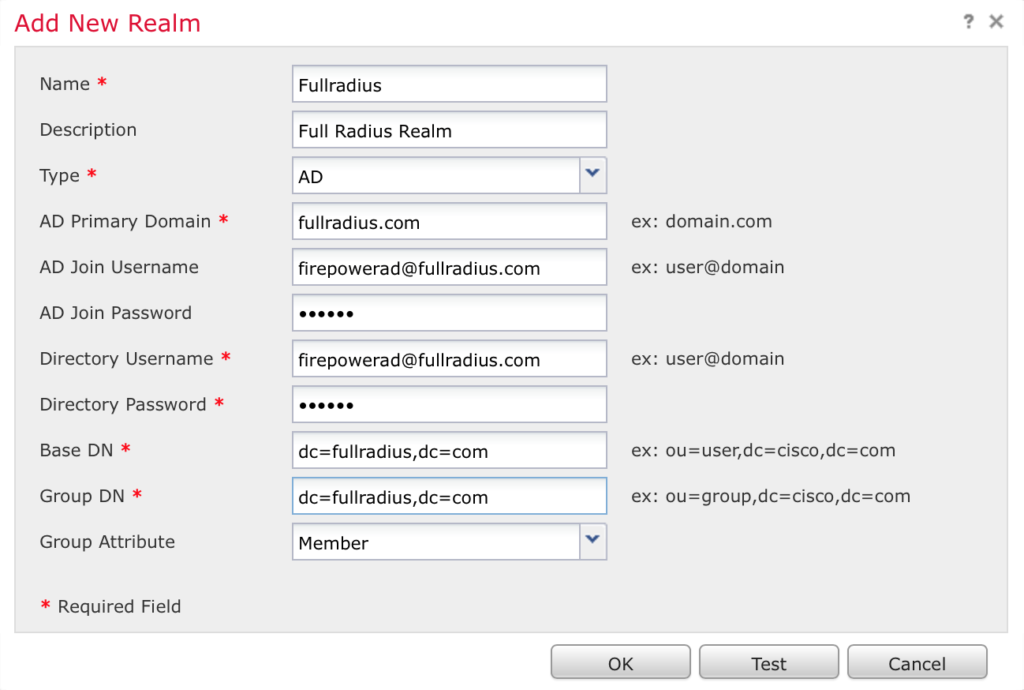
Enter the information required. If you don’t know things like the base DN I suggest you use a directory browser such as LDP.EXE to obtain the correct AD attributes.
Check out this post for help with this. Figuring out an Active Directory Objects DN Path
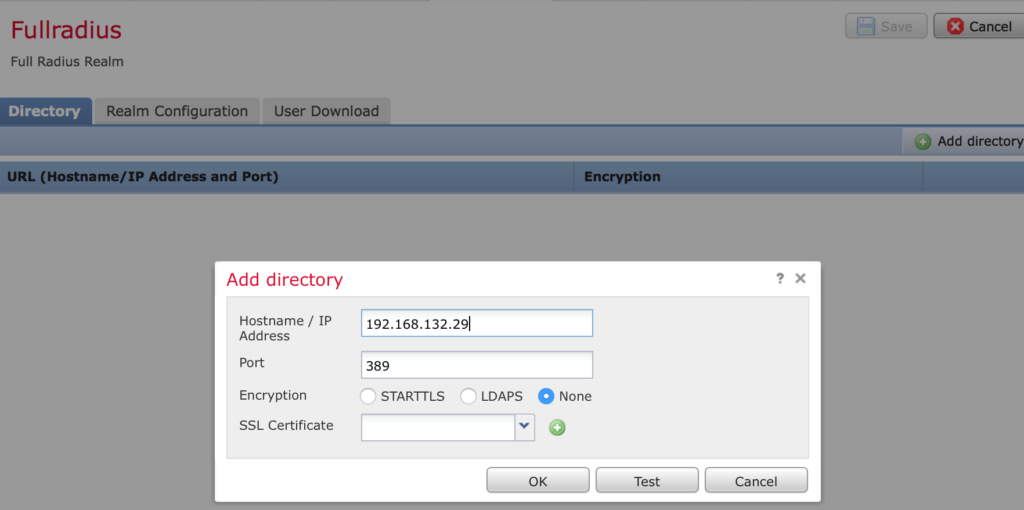
When you click OK it brings you to the directory entry screen. Click Create Add Directory. Enter an AD server IP address and click OK
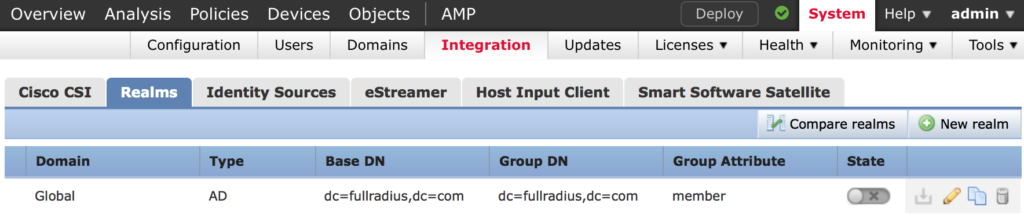
Save your settings. Once saved scroll to the right of the new screen displayed and enable the directory.
Next we create an Identity Policy
Navigate to Policies > Identity Policy
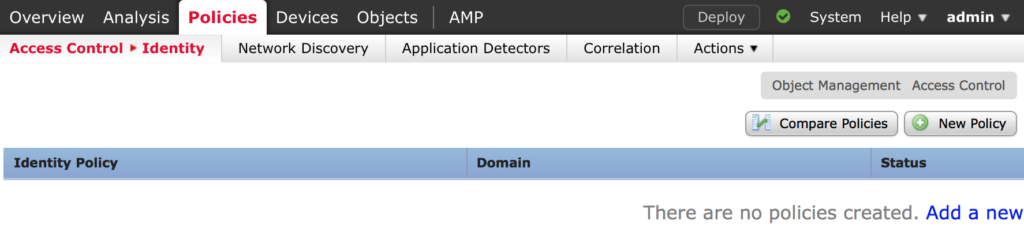
Click New Policy, give it a name and click Save
Click Add Rule, give it a name and click on Realms to select your realm and click Add and Save.

Navigate to Policies > Access Control and edit your policy. Click next to Identity and add the policy you created and click Save.

NOTE: With some browsers you can’t navigate to None to click next to Identity Policy, if you run into this try another browser.
Make sure to Save and Deploy your changes when your done!