FortiGate as a DNS slave to a Windows AD DNS Master v5.4
This post goes over how to setup a FortiGate firewall as a slave DNS server to a Windows DNS master. This is a great feature to enable for branch offices or even as basic redundancy to a single Windows DNS server.
Starting on the Windows DNS Server:
- Launch DNS Manager
- Double click on the zone you want to replicate and locate the SOA record and edit it.
- Go to the Zone Transfer tab and enable zone transfers. You can leave it at ‘To any server’ but I would select ‘Only to the following servers’ and enter the IP of your FortiGate.
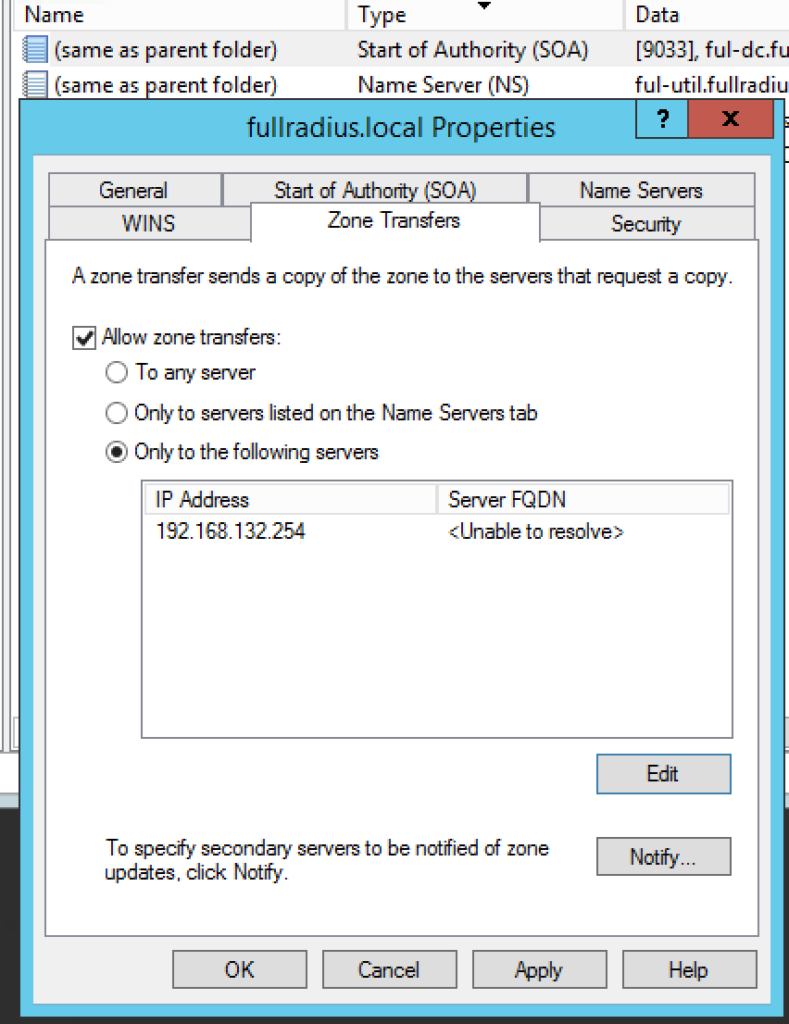
- Click Notify, select Automatically notify and enter the IP of your FortiGate.
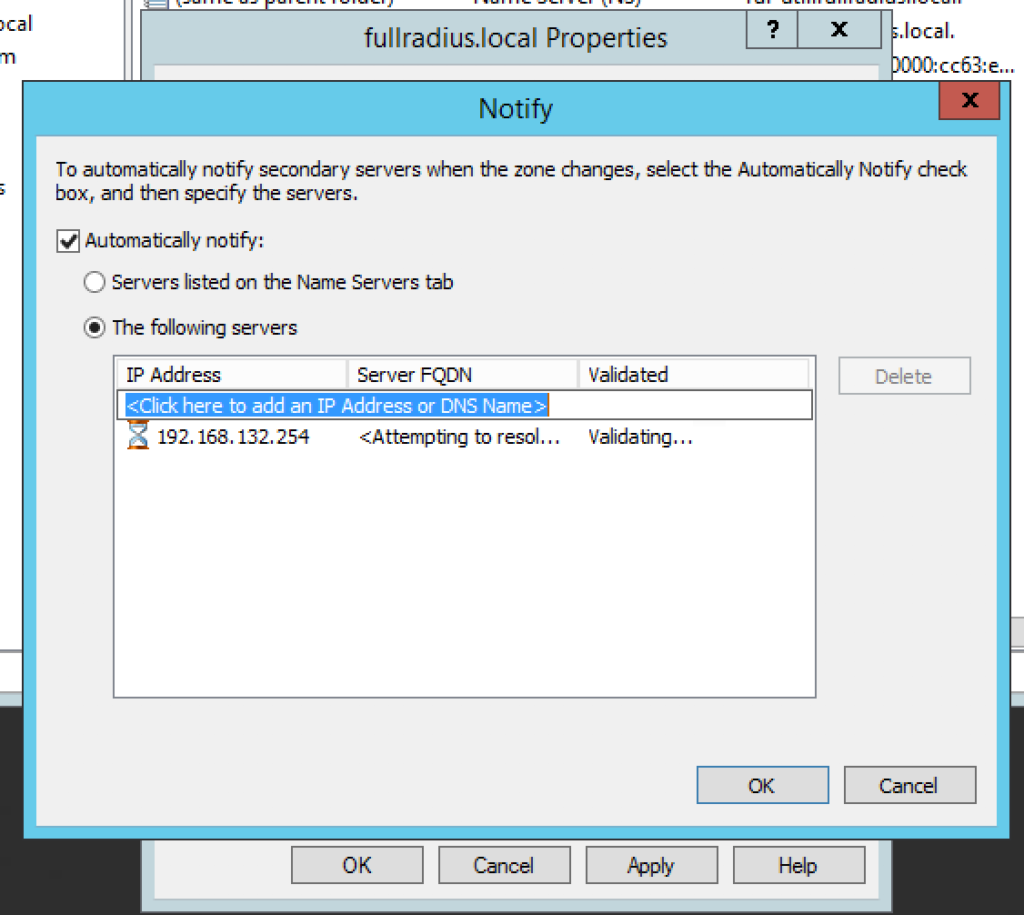
- Click Apply and OK
Now on the FortiGate:
- Select System –> Feature Select and enable DNS Database
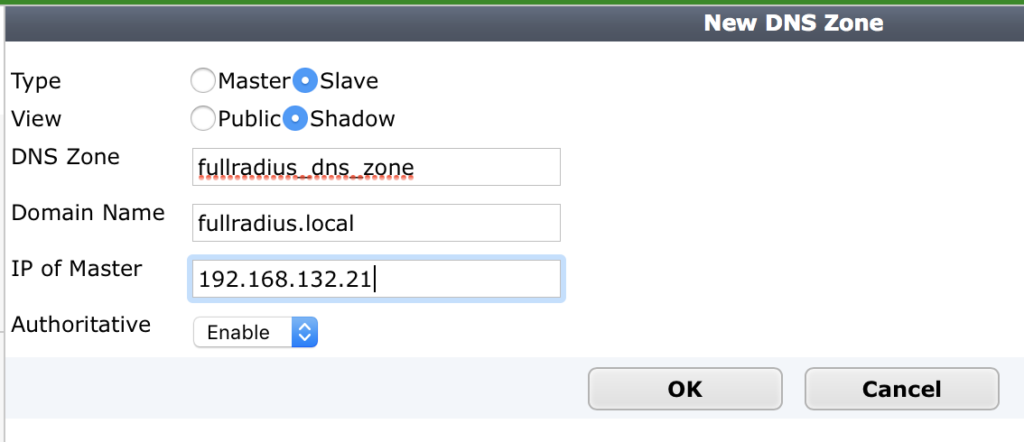
- Navigate to Network –> DNS Servers and create a new DNS Database
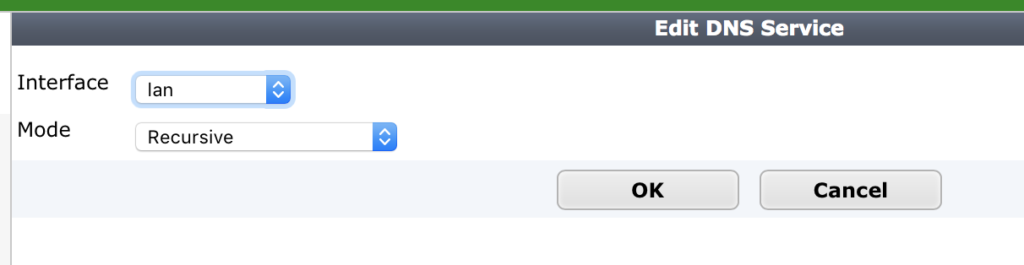
- Add a DNS Service
- Lastly, with Windows AD, a common and necessary record type is a SRV record, something FortiGate doesn’t understand. In order to resolve these with the FortiGate as the DNS server a forwarder has to be specified on the dns-database configured on the FortiGate, this is done from the CLI as follows:
- config system dns-database
- edit fullradius_dns_zone
- set forwarder 192.168.132.21
- next
- end
- edit fullradius_dns_zone
- config system dns-database
- That’s it! Test it from the CLI with the following command, you should see your zone file transferred!
- diag test application dnsproxy 8